Database Node
In addition to monitoring devices, Guardian can also monitor various types of databases using a Windows Connection Manager. You can use Guardian to monitor the following database types:
-
Microsoft SQL Server.
-
MySQL.
-
Oracle.
-
PostgreSQL.
-
DB2.
Monitoring a database lets you keep track of things like changes to user roles, stored procedures, and the overall schema of the database. To monitor a database, you'll ensure the relevant drivers are installed on the Connection Manager virtual machine. Then, you'll add the database as a database node in Guardian. This topic describes how to install database drivers, ensure you have a user account with the proper permissions on the database, and add a database node in Guardian.
Dependencies
To add a database node, you need:
-
A Windows Connection Manager configured in Guardian. For more information, see Windows Connection Manager.
-
The required drivers installed on the virtual machine running your Connection Manager. For more information, see Database Drivers.
-
A user account on the database with the necessary permissions for the database type. For more information, see User Permissions.
Database Drivers
In order for Guardian to access your database, you need to have the proper drivers installed on the virtual machine running the Connection Manager. These drivers will vary depending on your database type. Use the following table to identify which drivers you need to install:
Note: When downloading drivers, select 64-bit options if options are presented. Additionally, if you want to check which drivers are already installed on your virtual machine, you can do so using the virtual machine's ODBC Data Source Administrator (64-bit) application.
| Database Type | Required Drivers |
|---|---|
| Microsoft SQL Server |
No additional drivers are required. All required drivers are pre-installed on any operating system compatible with the Windows Connection Manager. Note: If your Microsoft SQL Server is running on Microsoft Azure, the Microsoft SQL Server 2012 Native Client driver is required. To download this driver, visit Microsoft's website. |
| MySQL |
The MySQL Connector/ODBC driver is required. To download this driver, visit Oracle's website. Note: A free Oracle account is required to download this driver. You'll be prompted to create an account or log in using an existing account when accessing the above link. |
| Oracle | The ODAC 12c Release 3 (12.1.0.2.1) driver is required. To download this driver, visit Oracle's website. |
| PostgreSQL | The PostgreSQL ODBC driver is required. To download this driver, visit the PostgreSQL website. |
| DB2 | The IBM DB2 ODBC CLI driver is required. To download this driver, visit IBM website and select the IBM Data Server Client Packages download link that corresponds with your version of DB2. |
With the correct drivers installed, you must now ensure you have a user account set up on the database with the proper permissions for Guardian to access it. For more information, see the next section.
User Permissions
Before you can add a database node in Guardian, you must ensure you have a user account with the permissions Guardian needs to monitor the database. The following table outlines the tables/catalogs the user account must be able to select in order for Guardian to effectively scan the node:
Tip: When creating this account in your database, give it a name like guardian so you can easily identify it.
| Database Type | Tables/Catalogs |
|---|---|
| Microsoft SQL Server | information_schema.routines, information_schema.columns, sys.databases, sys.database_principals, sys.indexes, sys.objects, sys.schemas |
| MySQL | information_schema.columns, information_schema.global_variables, information_schema.statistics, mysql.user, “SHOW PROCEDURE STATUS” |
| Oracle | ALL_DB_LINKS, ALL_INDEXES, ALL_MVIEWS, ALL_OBJECTS, ALL_SEQUENCES, DBA_PROFILES, DBA_TABLES, DBA_TAB_COLUMNS, DBA_USERS, ROLE_SYS_PRIVS, SYS.REGISTRY$HISTORY, V$PARAMETER |
| PostgreSQL | information_schema.columns, pg_catalog.pg_roles, pg_catalog.pg_user, pg_indexes, pg_settings, pg_proc |
| DB2 | syscat.columns, syscat.indexes, syscat.roles, syscat.routines, syscat.tables, sysibm.sysuserauth, sysibmadm.dbcfg |
Once you have a user account with the listed permissions, you can proceed to adding the database as a node in Guardian. Keep the user ID and password for the database account ready as you'll need them when adding the node.
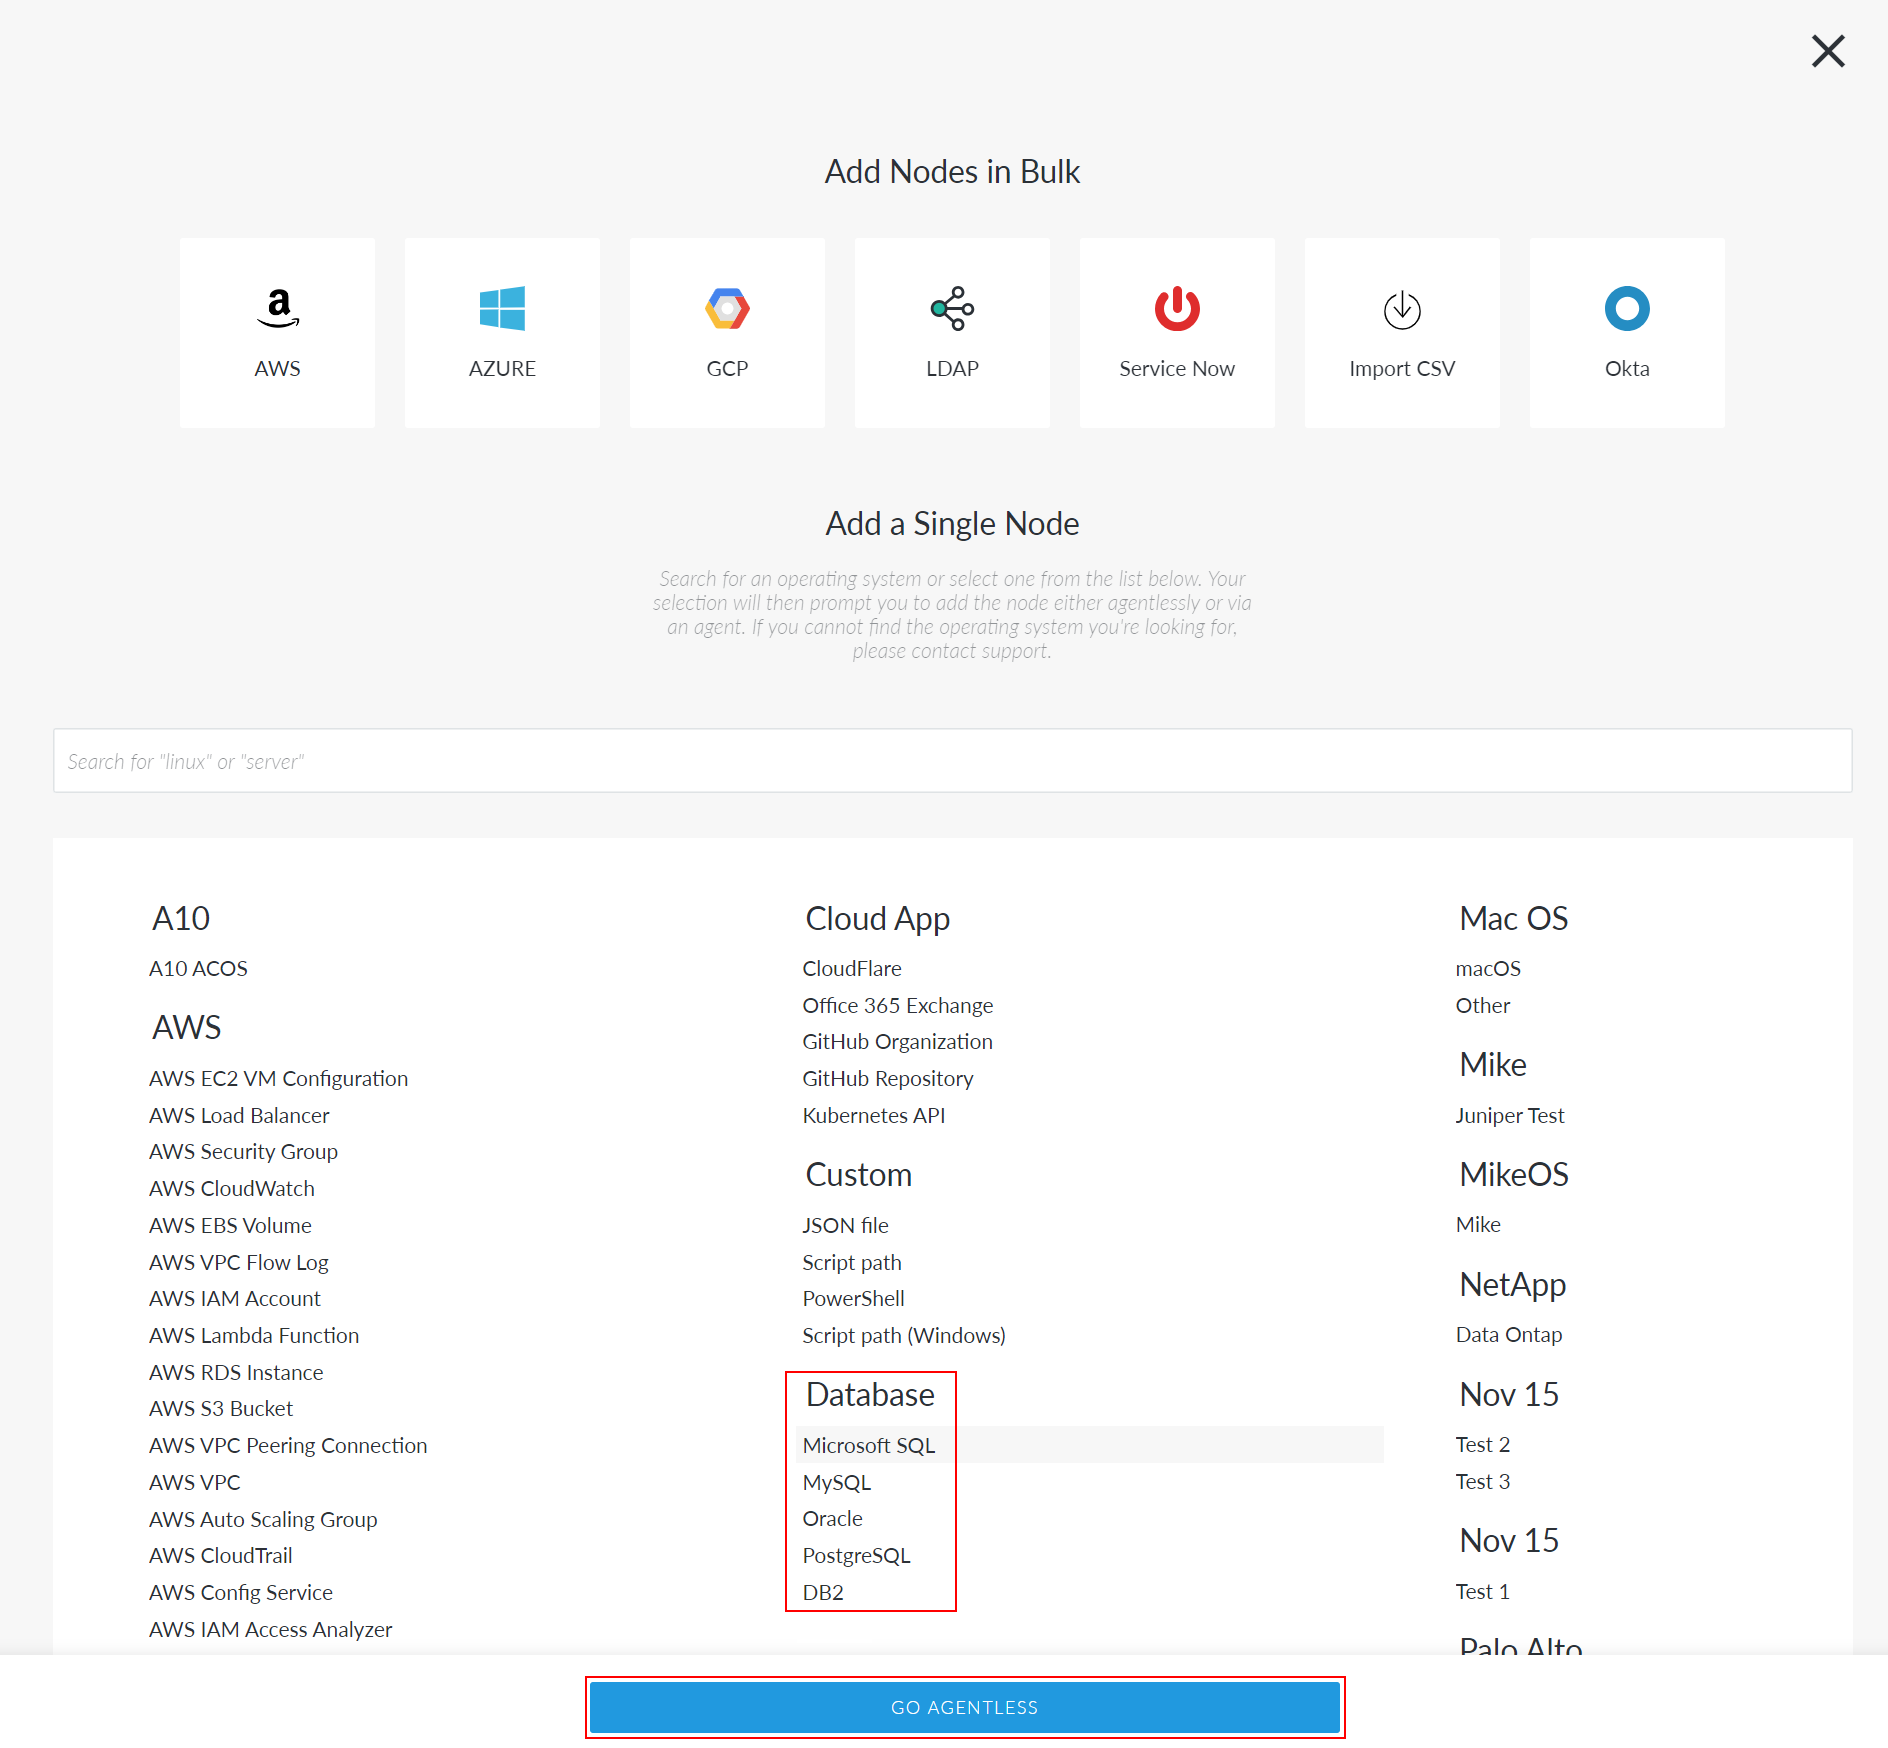
Add a Database Node
To monitor a database, you'll add it as an Database node in Guardian. This lets you keep track of the database's schema, user roles, and more.
To add a database node for Agentless scanning, complete the following steps:
-
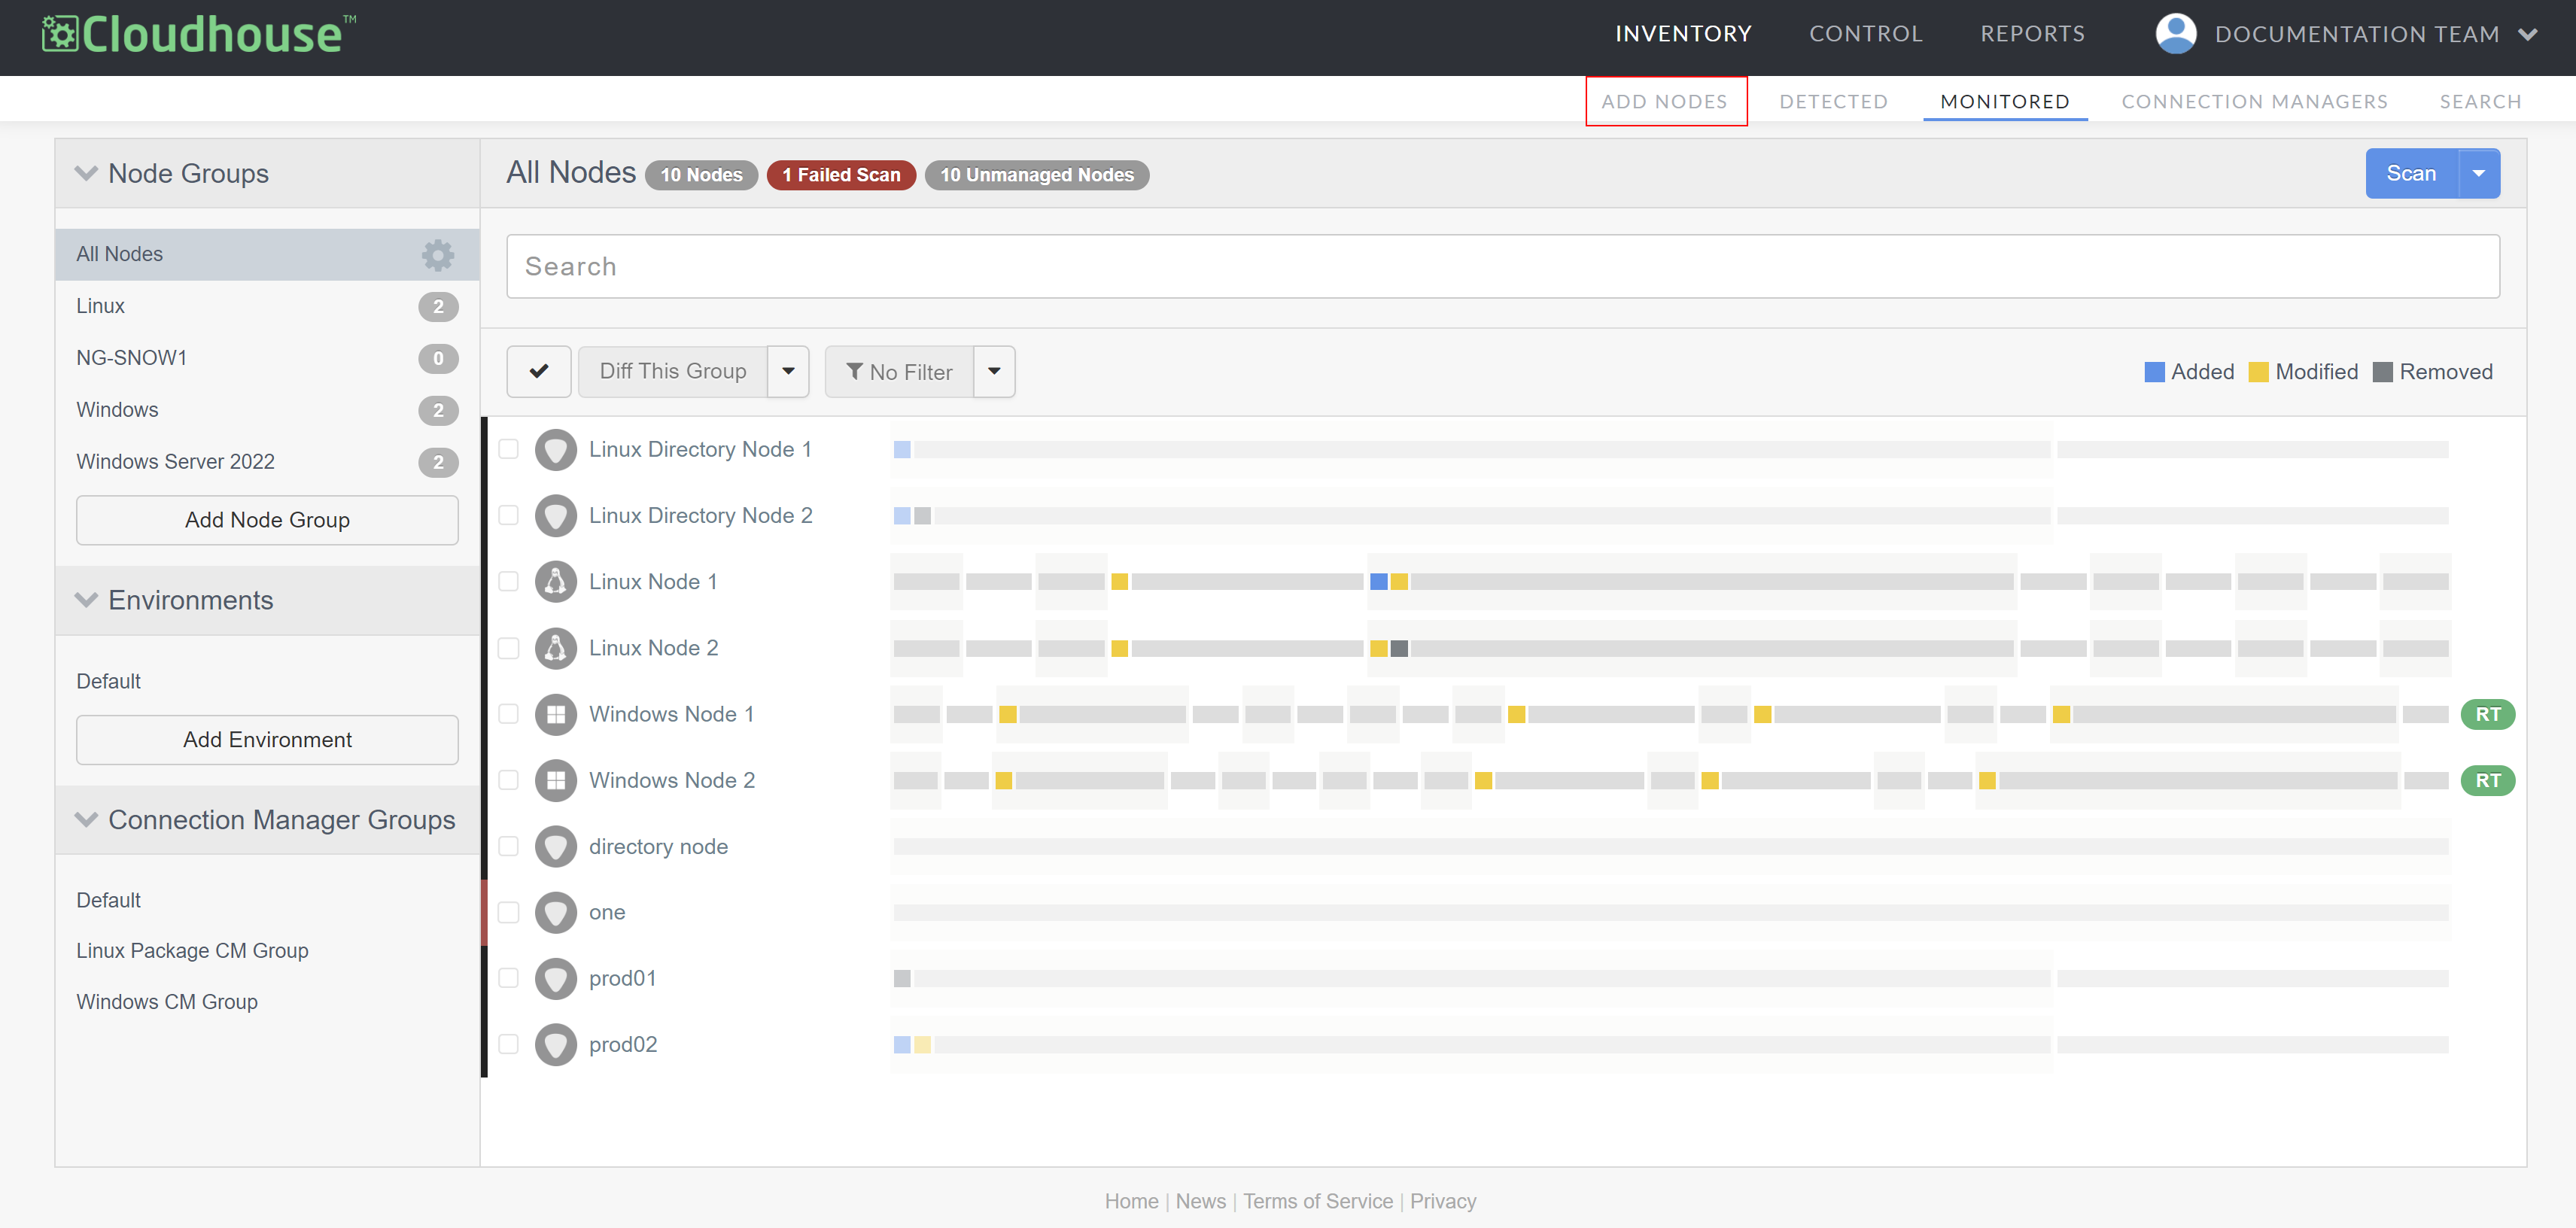
In the Guardian web application, navigate to the Add Nodes tab (
-
From the Database section, select the type of database you're using. Then, click Go Agentless.
-
Here, complete the following options:
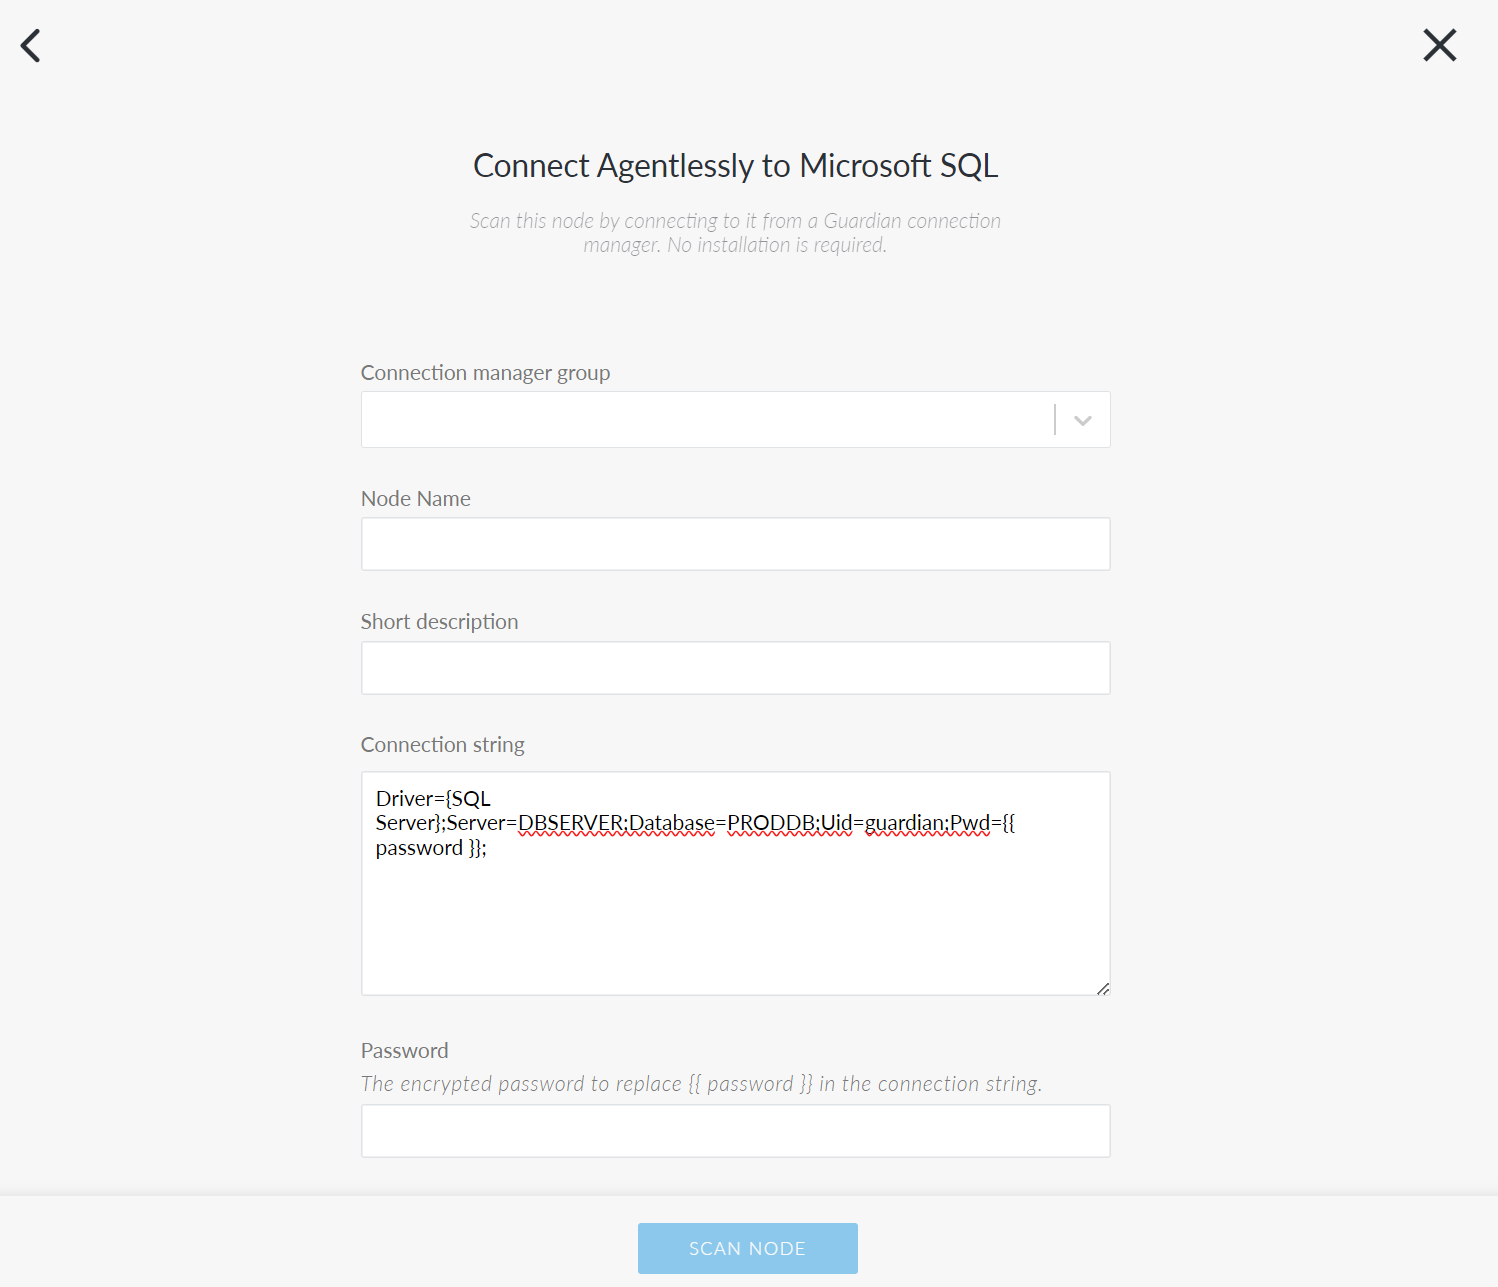
Option
Description
Connection manager group drop-down list The Connection Manager group that is responsible for scanning your database node. Select a Connection Manager group from the drop-down list.
Node Name field The name of the node. The value you enter here will be used as the display name in Guardian.
Short description field Optional field to provide additional information about the node.
Connection string field This string defines certain elements required for Guardian to connect to the database. For example, the
host,server, anduser ID. The values present in this string vary depending on the database type. However, an example string with placeholder text will be displayed in this field automatically. Replace the placeholder values in the provided string with your own.Note: The
passwordvalue can be encrypted. If you want to encrypt the password, enter it in the Password field below rather than directly in the connection string.Password field The password of the user account authorized to connect to the database. Guardian will take the password you enter here, encrypt it, and replace the encrypted password in the connection string in the previous field.
Host Node drop-down list (Oracle only) The node that hosts your Oracle database. When working with Oracle databases, Guardian must perform certain checks on the host node in addition to checks run on the database itself. Select the name of the host node from the drop-down list. -
Once you've completed the above options, click Scan Node to add the database node to your Guardian instance.
Now, Guardian performs an initial scan of the node. You can wait on this page for the scan to finish, at which point you will see a View Scan button. To view the results of this initial scan, click View Scan. However, you can also navigate elsewhere while Guardian performs its initial scan of the node. You can then view the status of the scan on the Job History page (Inventory > Job History). For more information on what to do next after adding a node, see below.
Next Steps
Once you've added nodes to Guardian, there are a few next steps you can take to get the most out of Guardian and the data it collects. Refer to the topics below for more information on where to go from here.
-
Node Scan Results – View and filter the data collected by Guardian every time a node is scanned.
-
Node Groups – Group nodes together based on similar properties like node type, location, and more.
-
Scan Options – Customize what is scanned on a given node during a node scan.
-
Configuration Differencing – View differences between two nodes, a group of nodes, two scans of the same node, and more.
-
Policies – Define expected configuration states and apply them to nodes or node groups.
-
Integrations – Bring together different systems, applications, or components to work as a unified view and perform different tasks.